
Install the Extension
Overview
This page explains the standard entry point for the Ghast AI extension, what happens once the install completes, and the order of steps you should follow on your first run.
Install from Chrome Web Store
The public entry point for Ghast AI is the Chrome Web Store listing:
The store page looks like this:
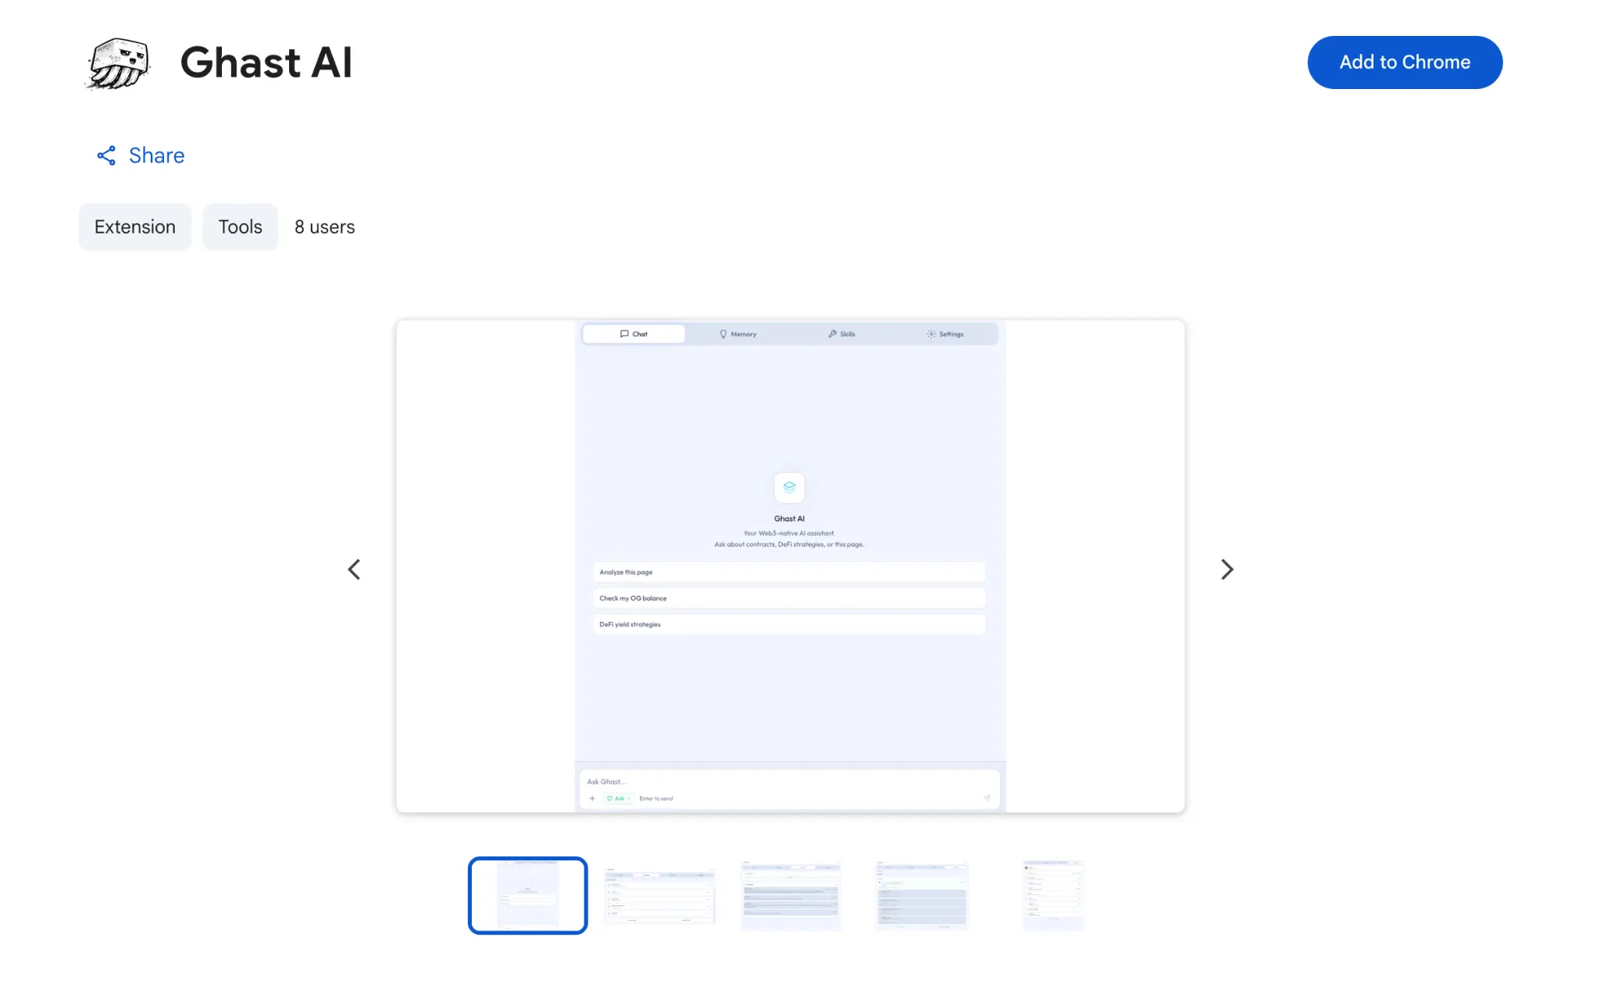
Figure: Extension installation entry point
Installing from this listing already puts you on the supported onboarding path.
What happens next
After the extension installs for the first time, the common flow is:
- Open Ghast AI in the browser sidebar.
- Complete the sign-in step.
- If your account still needs activation, submit the invite code.
- Proceed to wallet, model, workspace, and other guidance.
Installation is just the gateway; finishing sign-in, activation, and setup are what get you into regular usage.
What you can do without Companion
Even without installing Companion, you can immediately start doing the following:
- Chat
- Page-context understanding
- Memory management
- Skill management
- Basic wallet and model setup
Install Companion later only if you need workspaces, local commands, or deeper local capabilities.
What can wait
For a smoother first run, follow this order:
- Finish sign-in and activation first.
- Complete the wallet and model basics next.
- Work through the sidebar's foundational flows.
- Only add Companion when you have a clear need for its local features.
Ghast AI's main user entry point is the Chrome extension. Most users should install from the Chrome Web Store, then follow the sequence of sign-in, activation, and foundational setup. Companion and other local workflows come later, when you know you need them.